Finlay's Implant Overdenture Case Presentation
Welcome to my October 2021 Newsletter Case Presentation
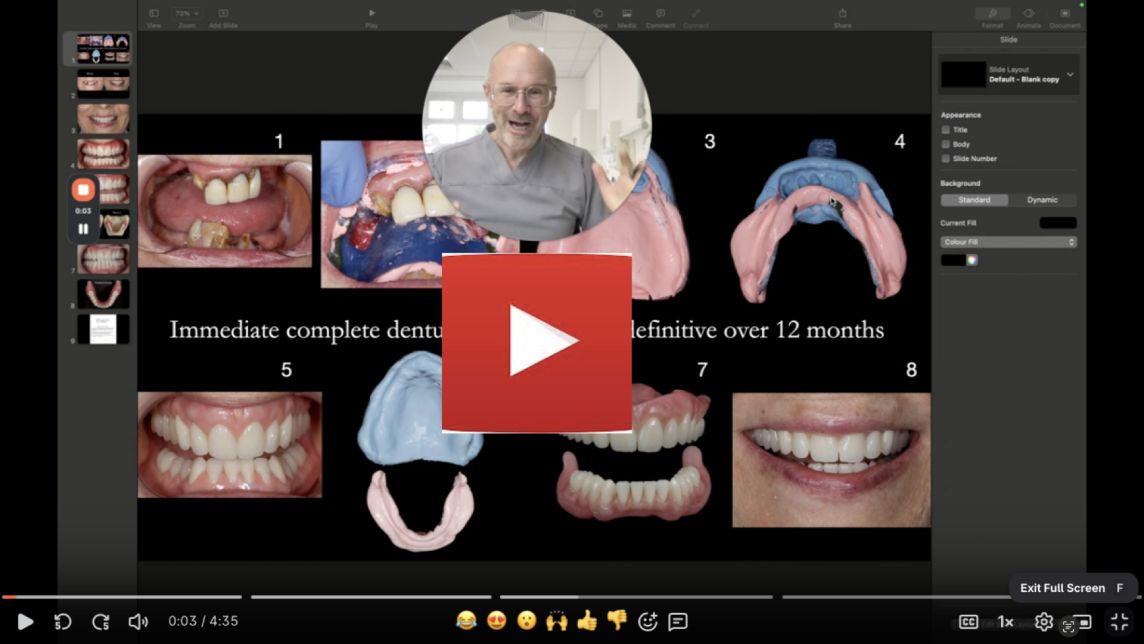
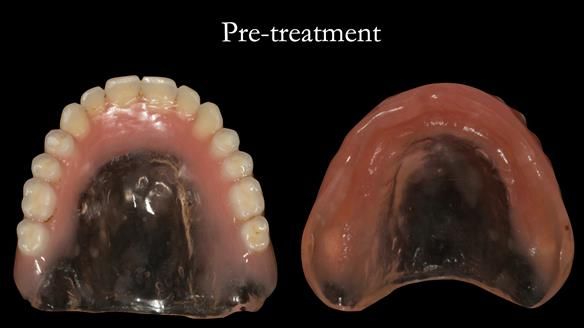
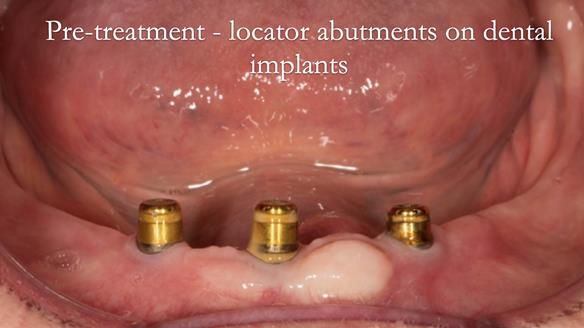
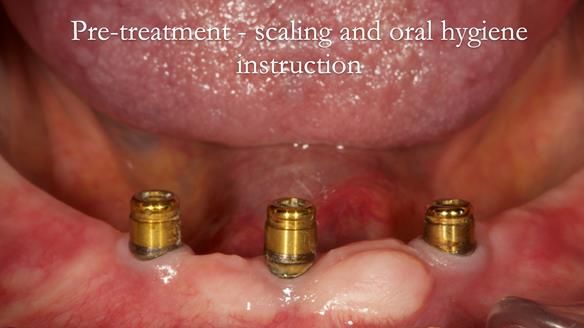
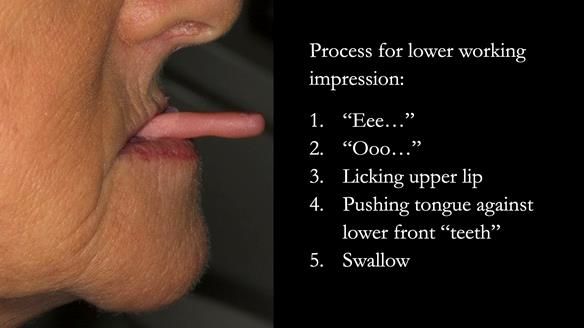
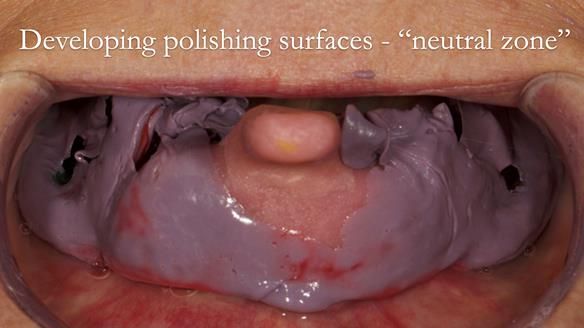
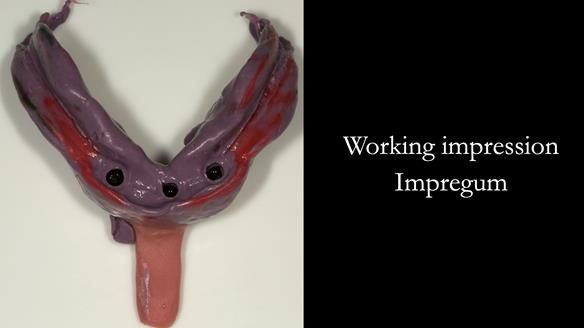
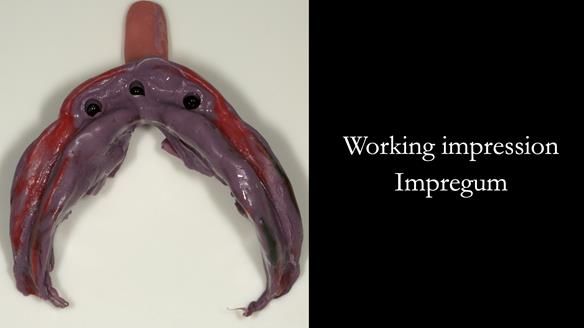
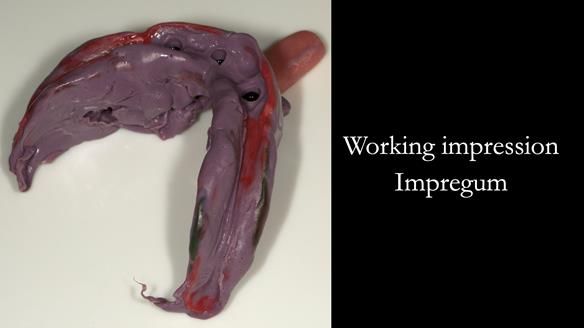
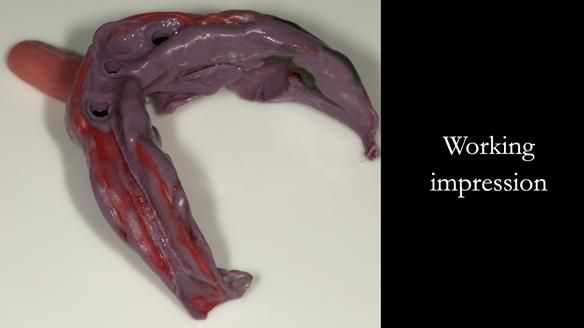
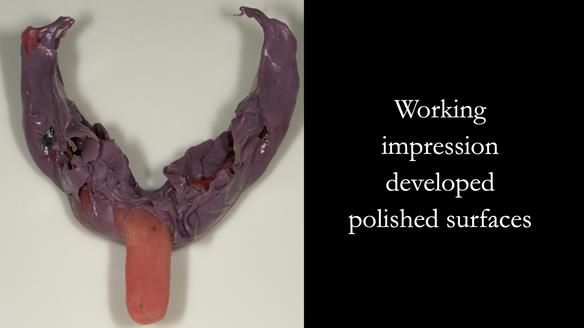
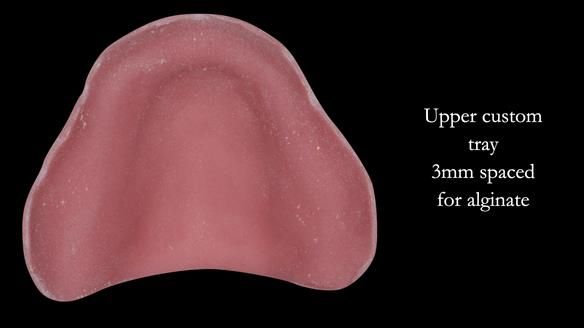
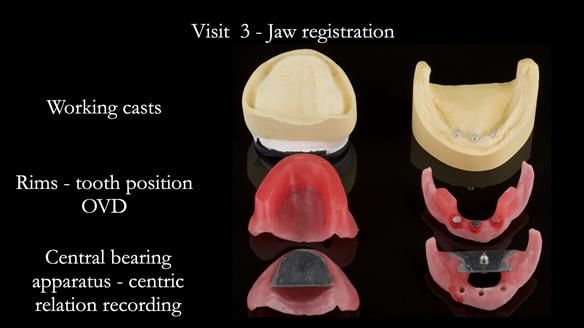
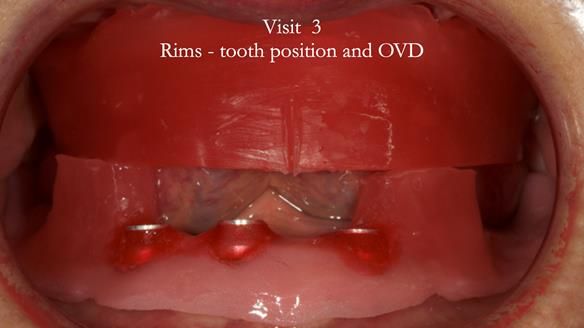
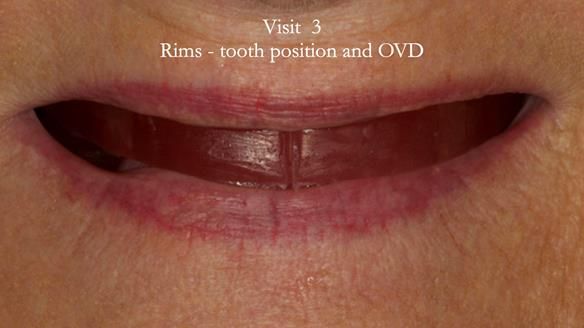
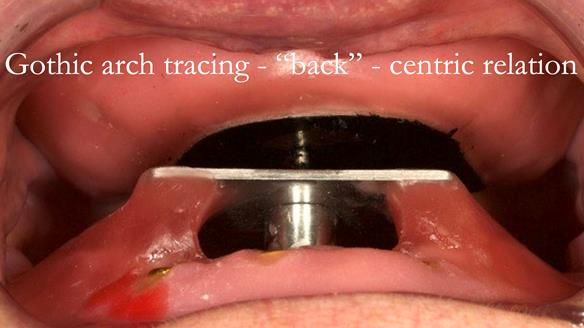
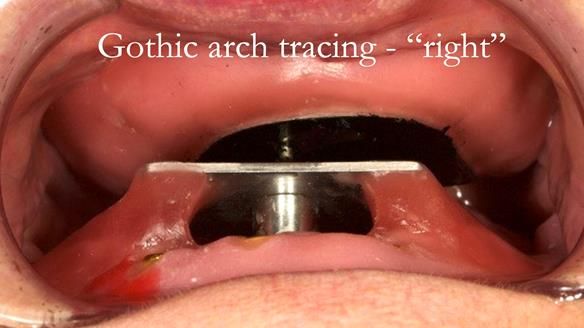
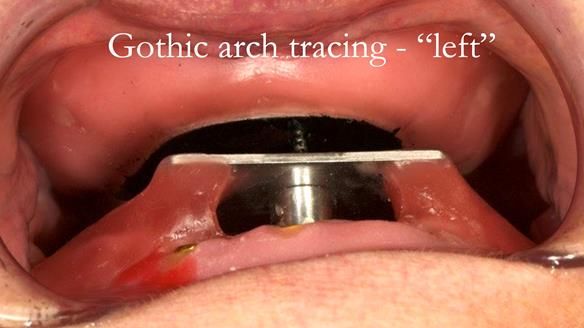
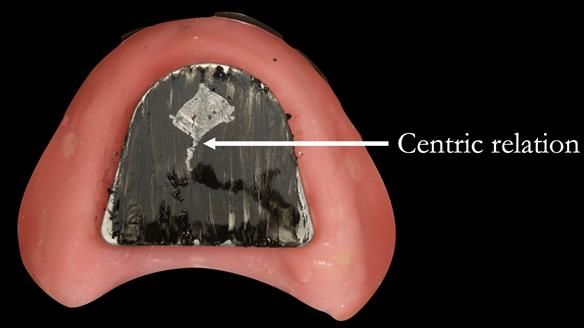
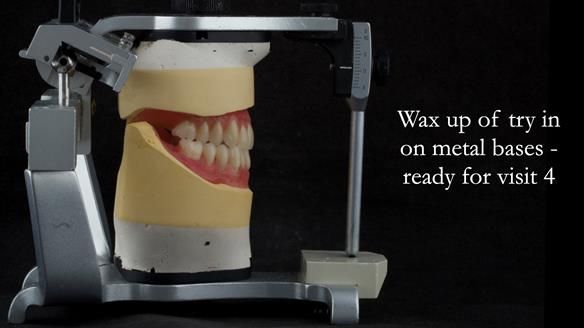
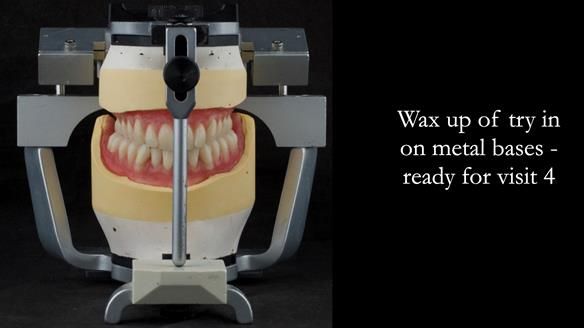
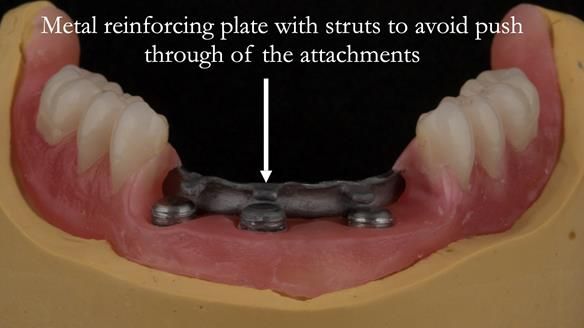
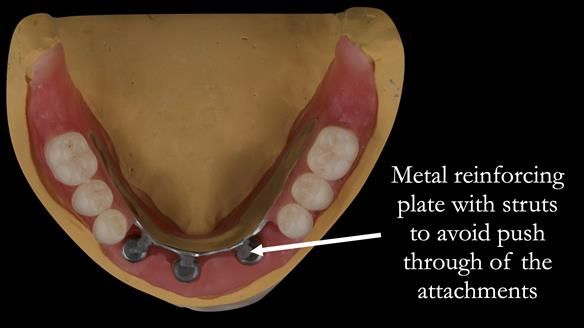
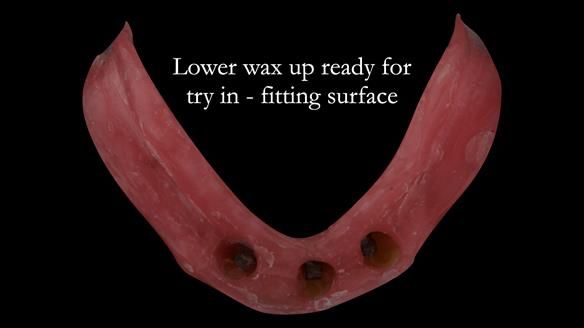
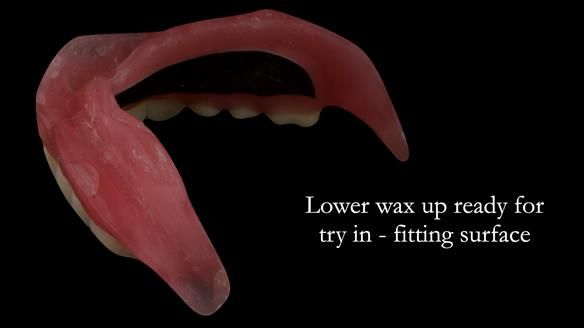
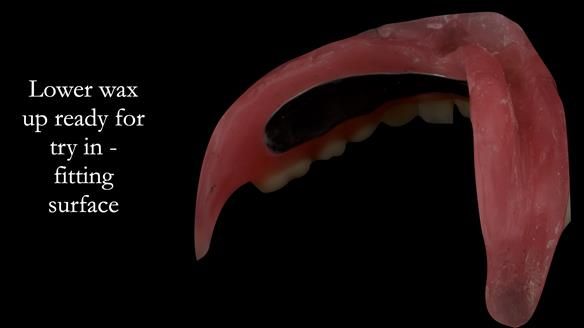
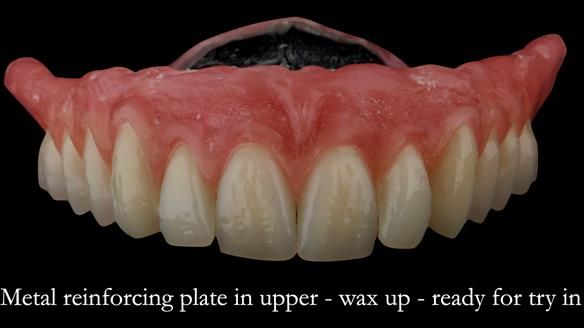
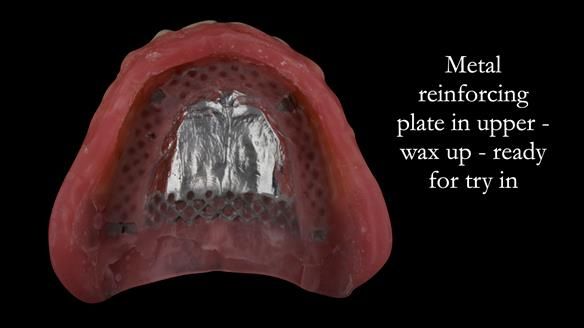
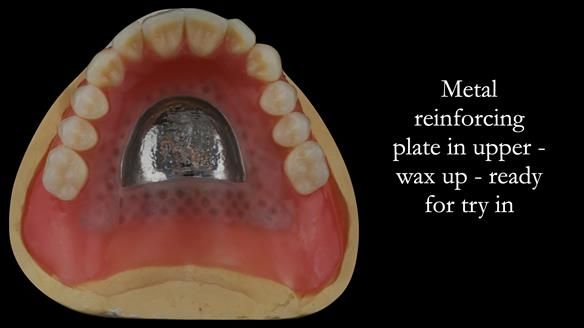
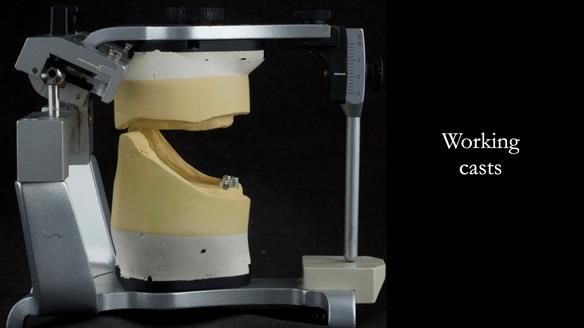
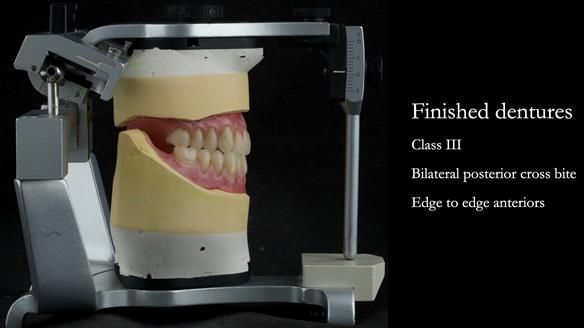
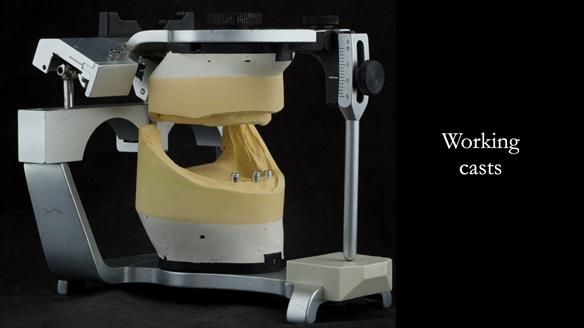
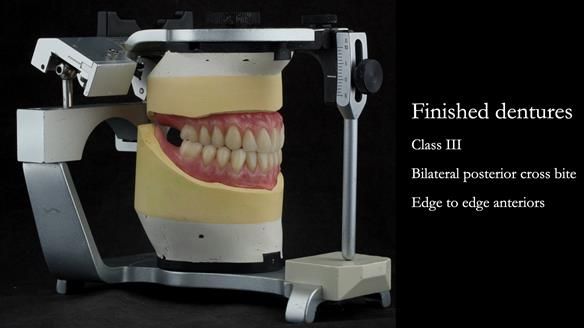
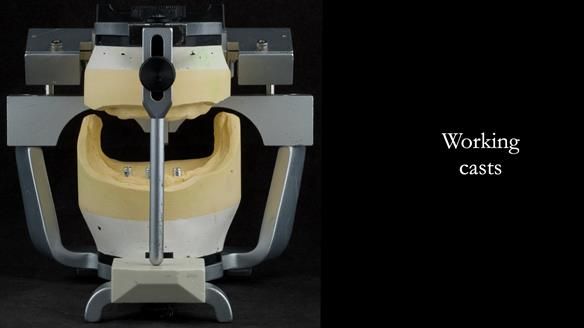
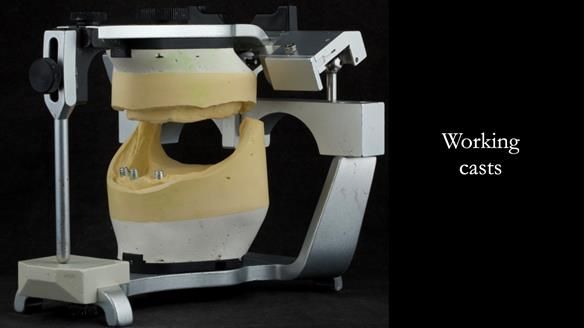
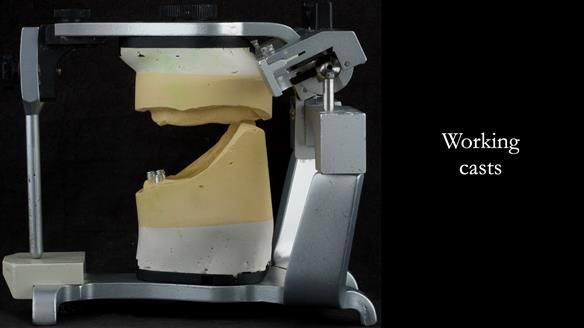
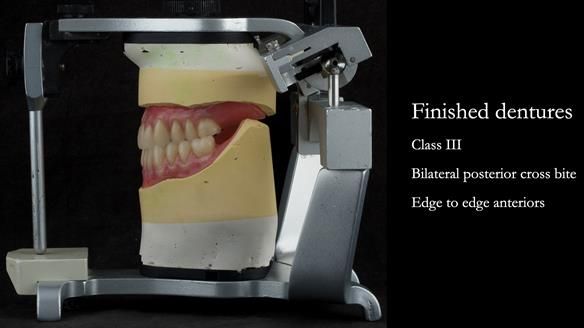
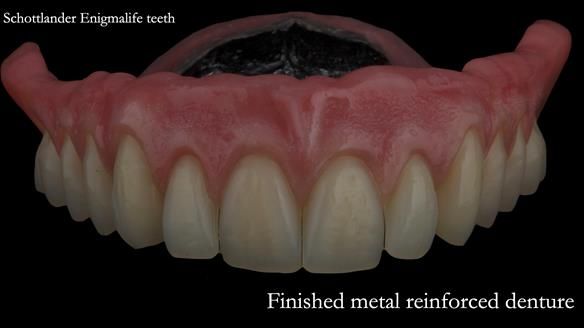
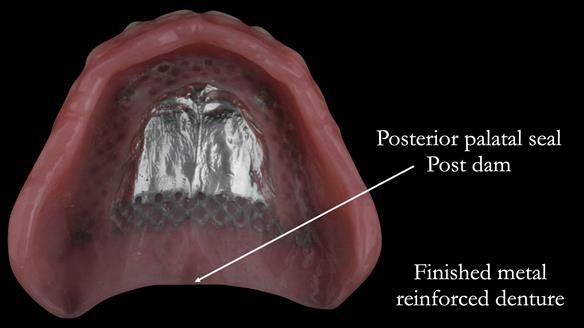
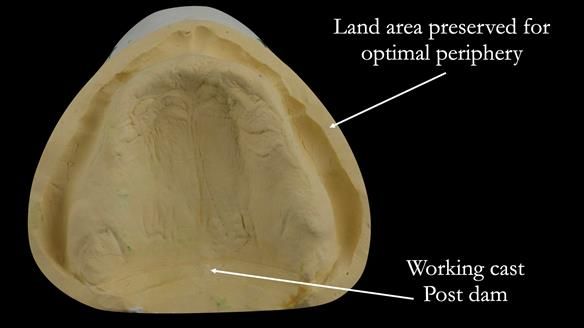
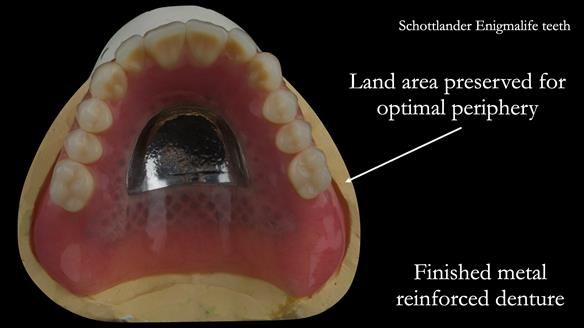
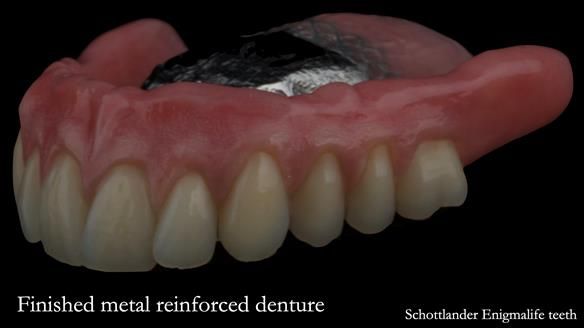
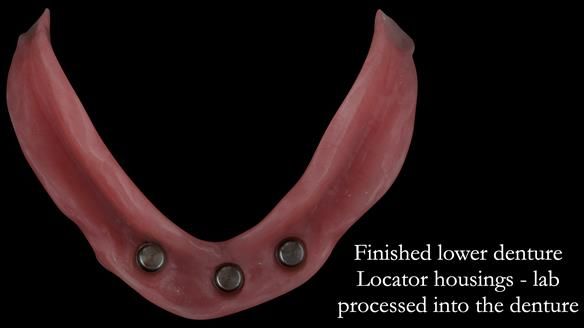
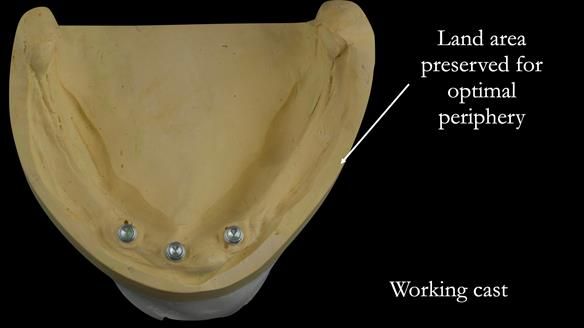
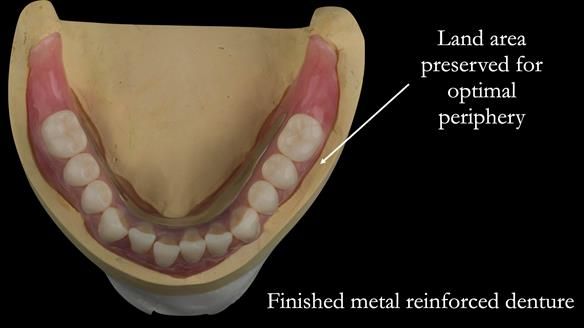
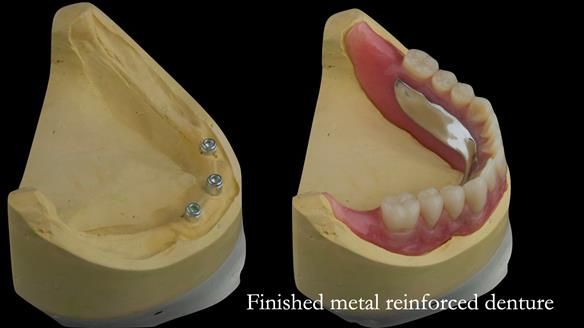
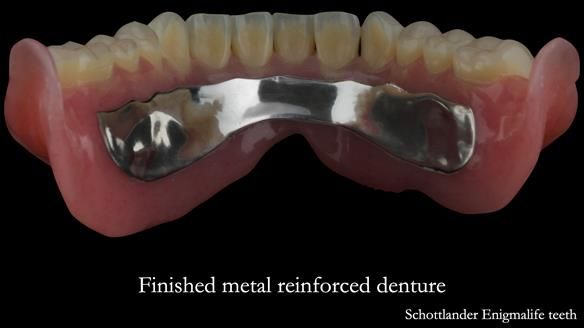
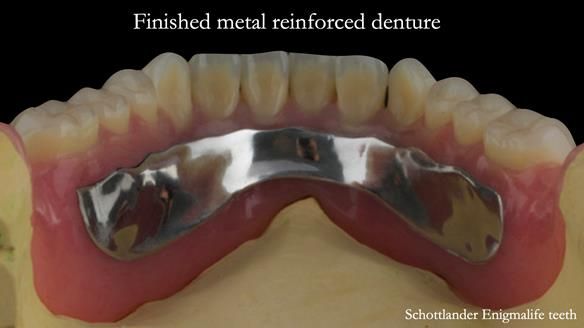
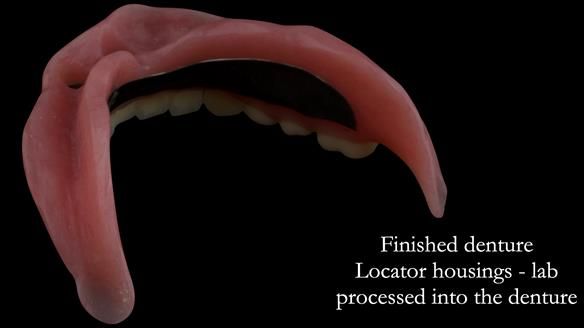
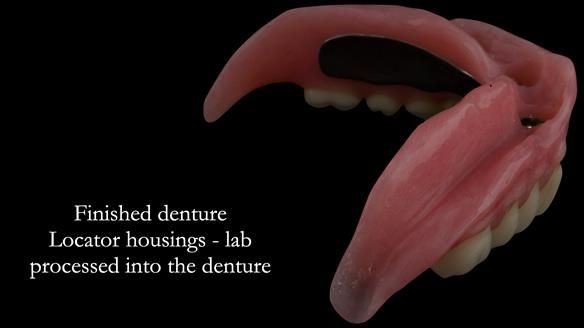
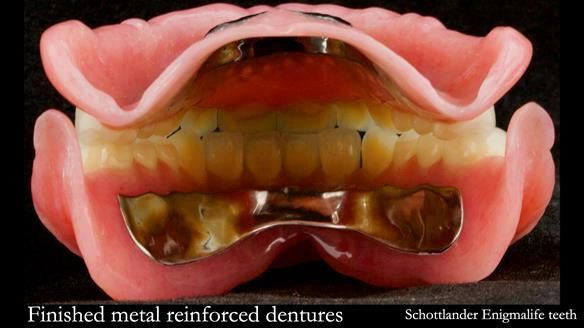
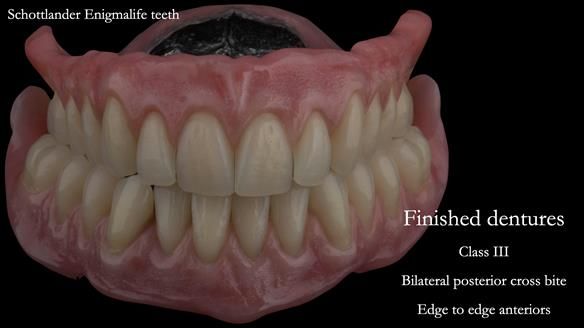
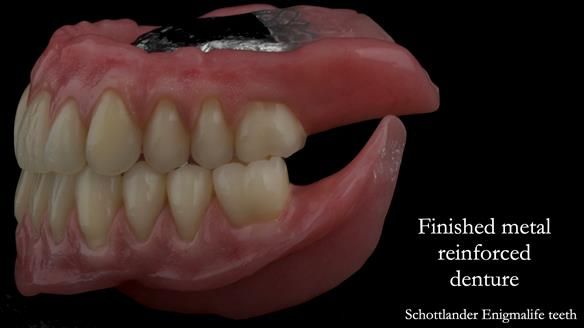
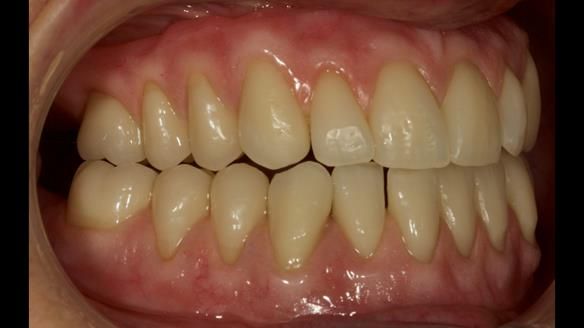
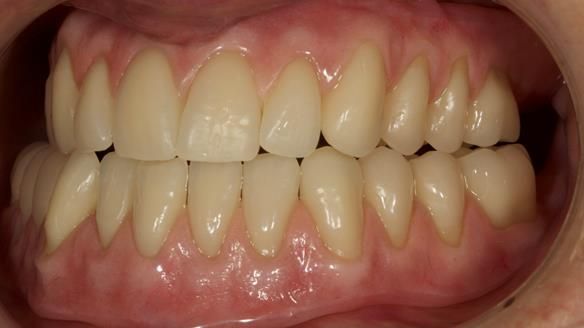
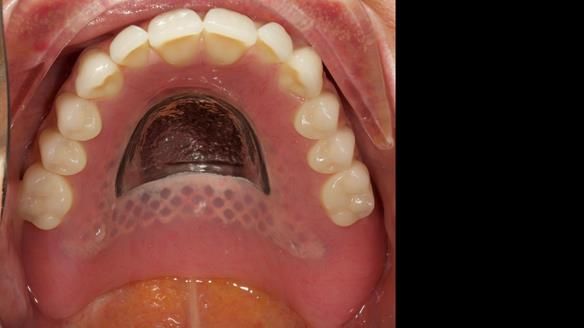
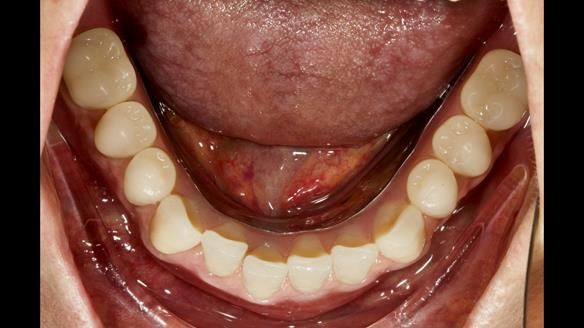
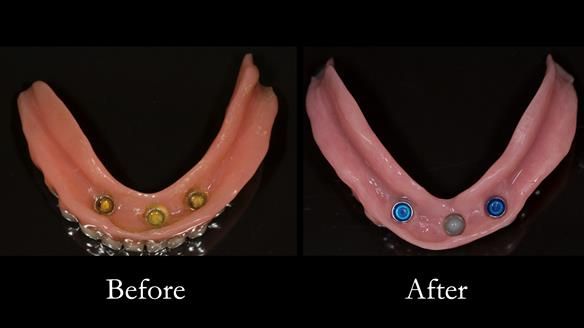
This newsletter describes in step by step detail the provision of a lower implant supported metal based complete denture with three dental implants positioned in the anterior mandible. The upper arch was restored with a metal based complete upper denture.
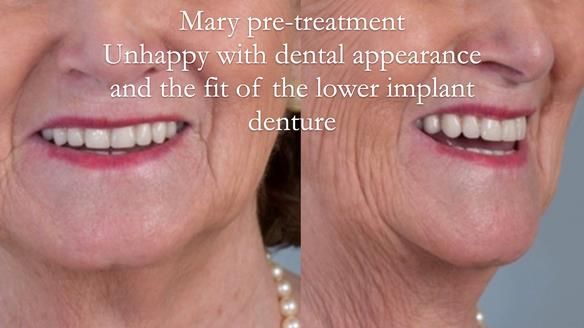
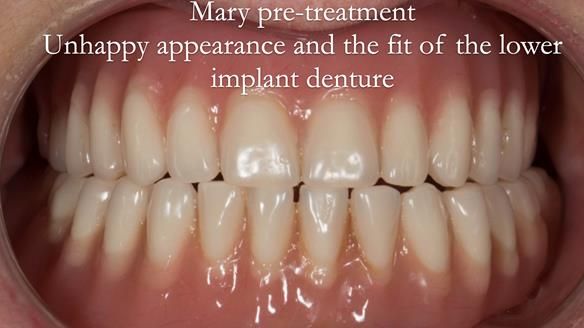
This 72 year old woman (Mary) was referred to me from her general dental practitioner from Ireland.
Dental History and Concerns
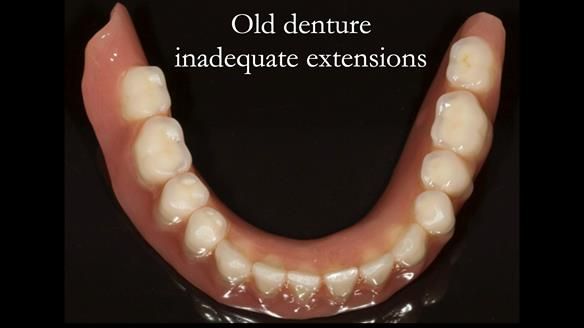
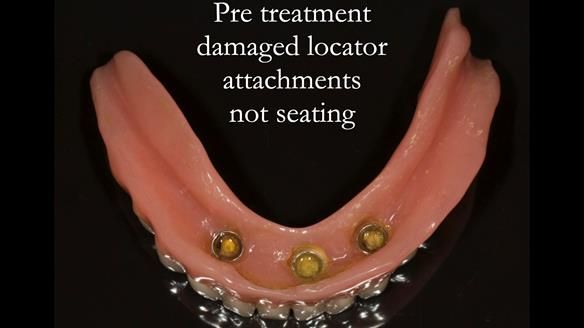
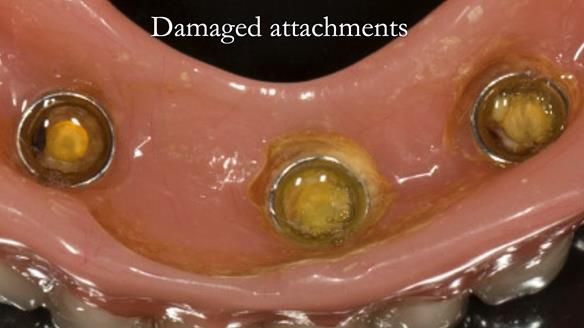
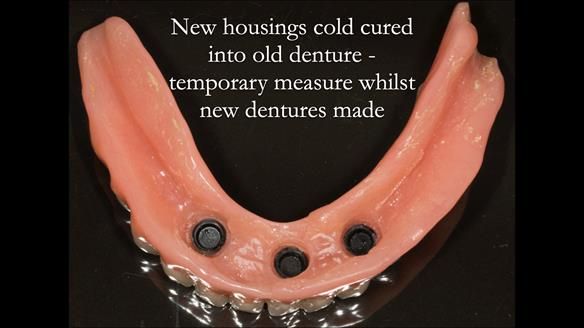
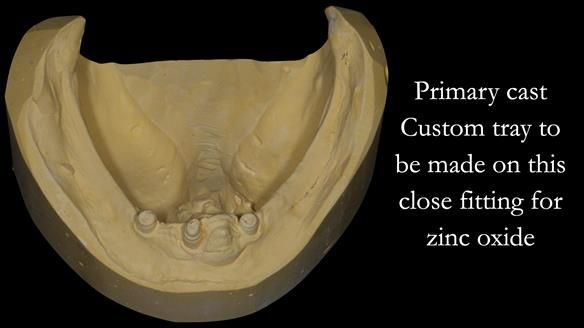
Mary had 3 dental implants placed in the anterior mandible 10 years previously with new complete dentures. These were successful for a time. The dentures were replaced a few years later. Mary was never pleased with the new lower denture as they did not fit the implants properly. This patient was referred to me from Ireland, to my practice in Garstang, England.
Medical History
Nil
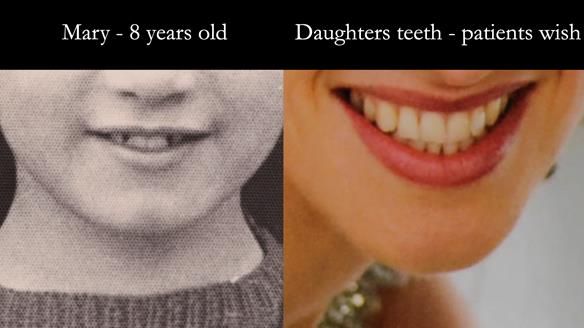
Dental wish list
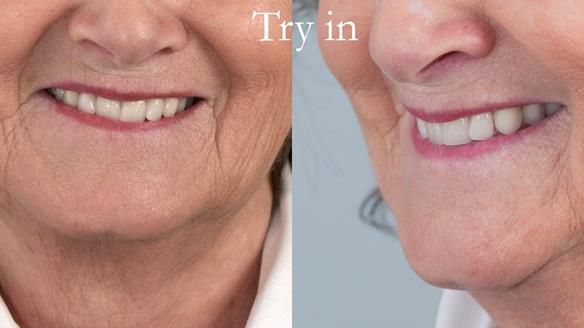
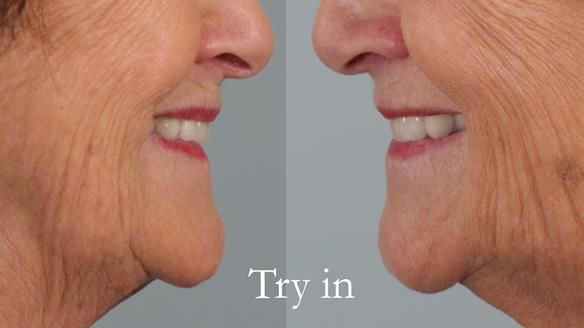
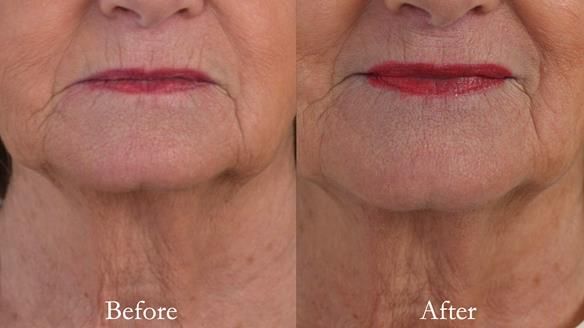
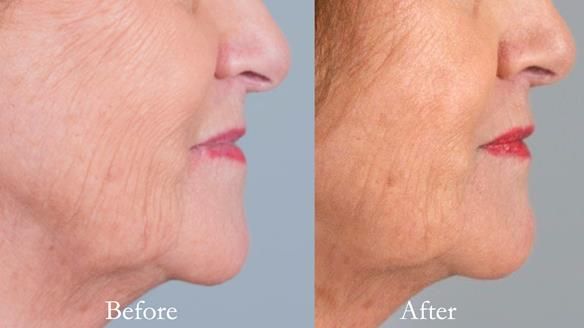
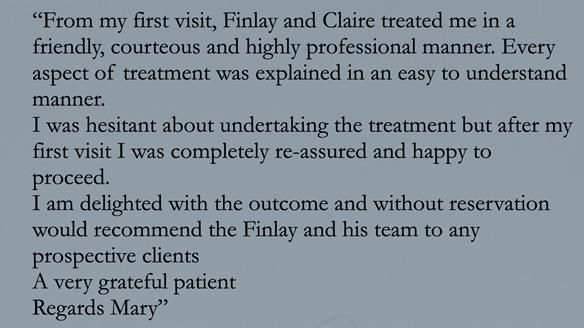
"That new dentures would be secure in my mouth."
"An improvment in appearance would also be appreciated."
Diagnoses of the complete dentures
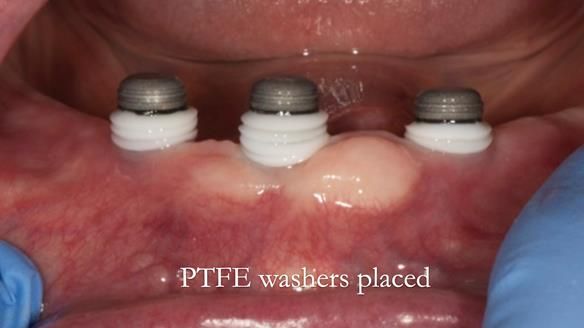
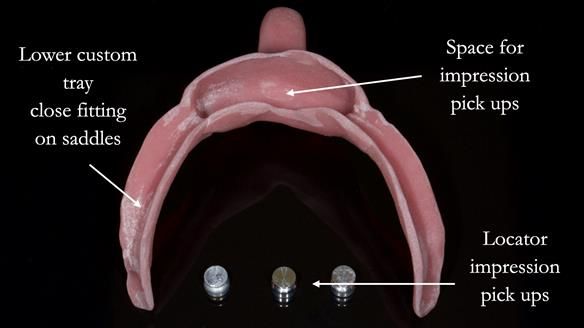
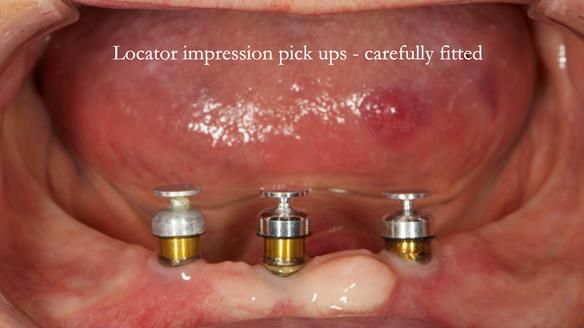
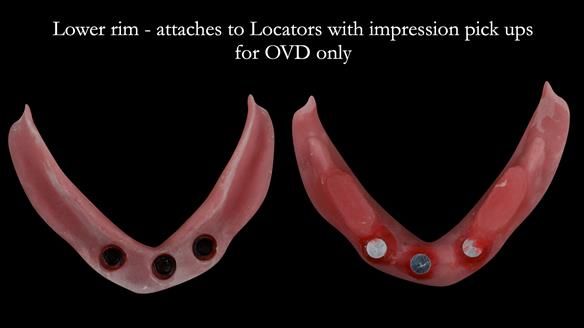
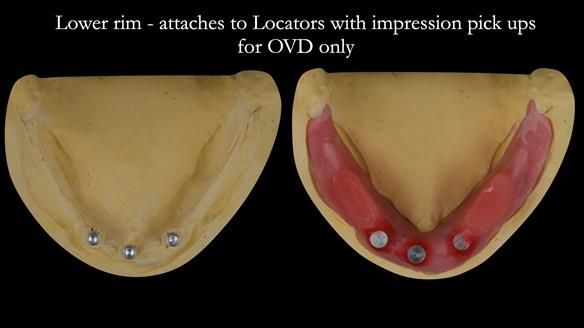
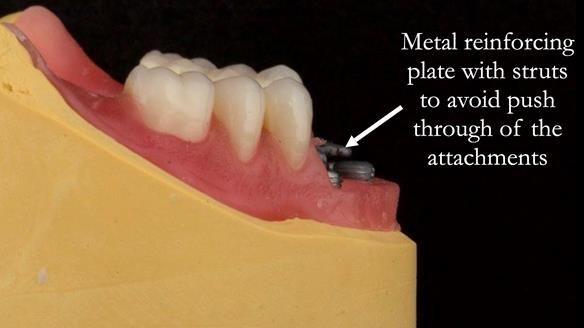
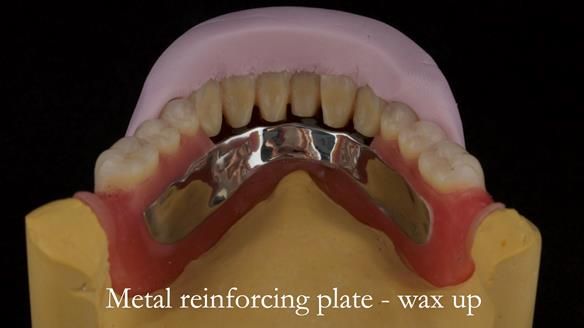
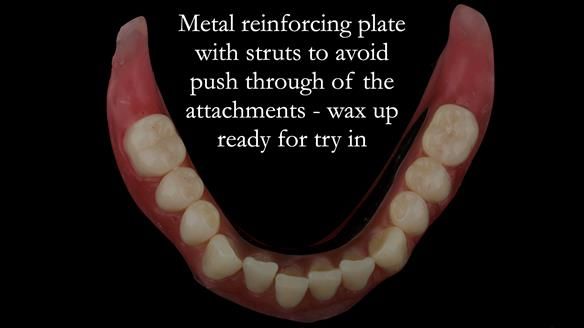
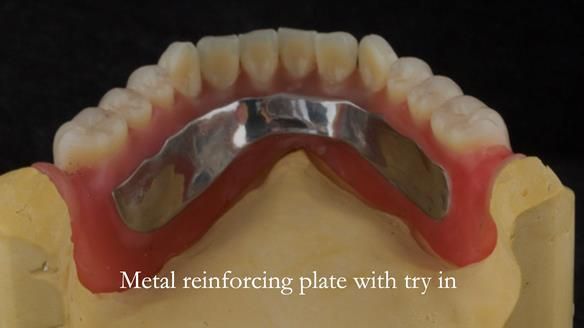
- Locator attachments not engaging the housings in the lower denture.
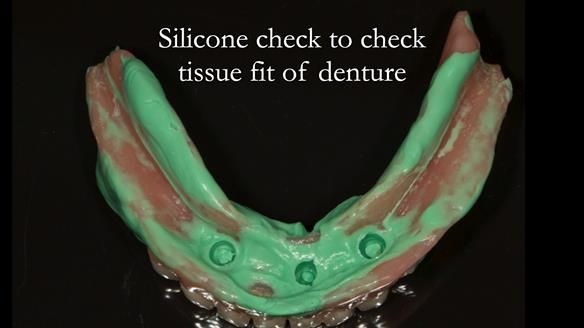
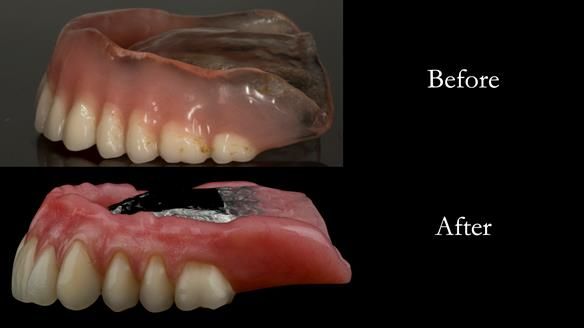
- Suboptimally shaped dentures with poor tissue fit resulting in rocking of the dentures.
- Bland aesthetics.
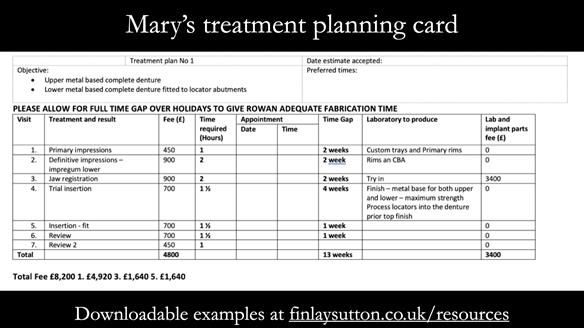
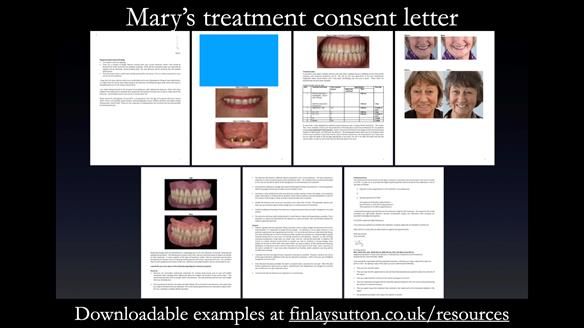
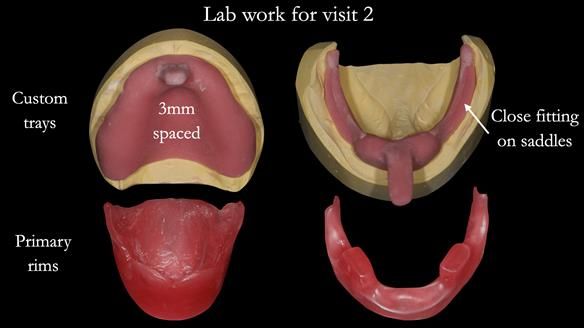
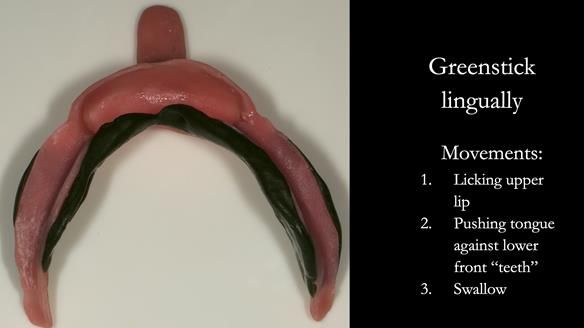
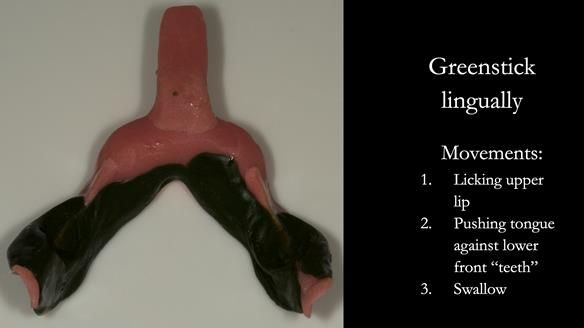
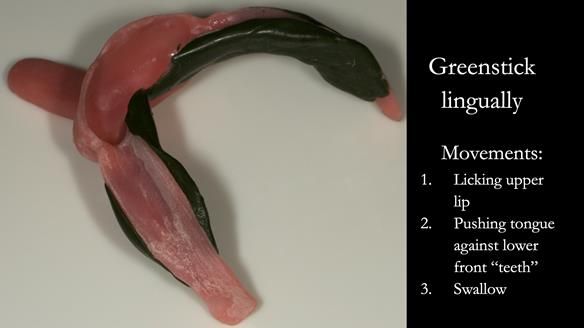
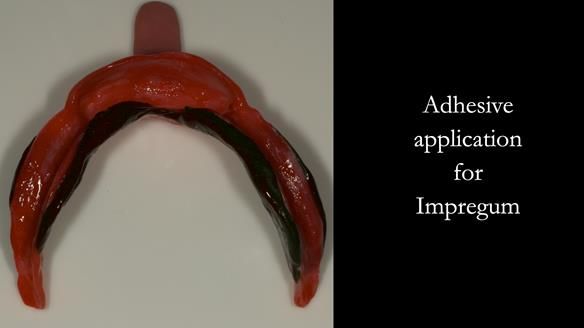
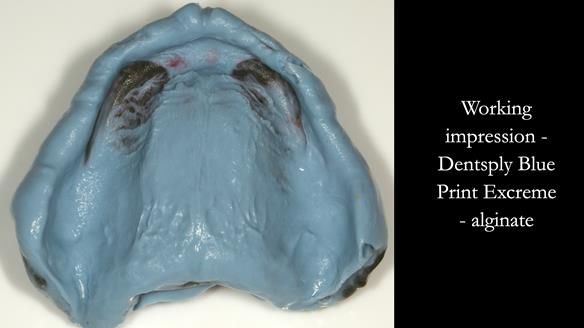
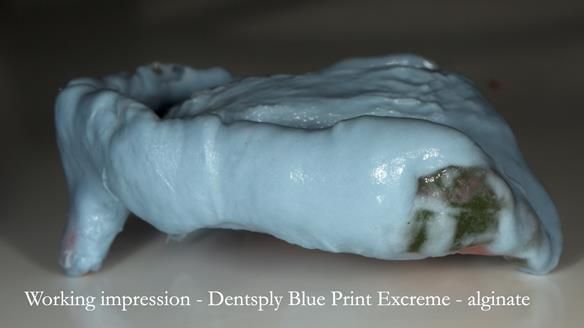
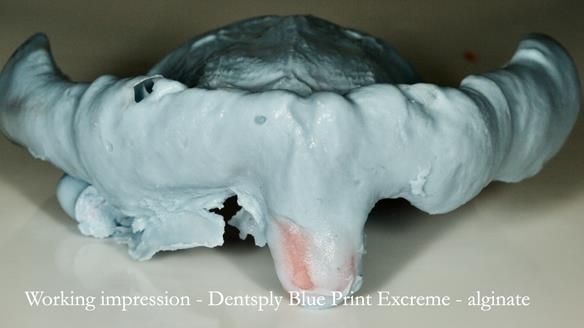
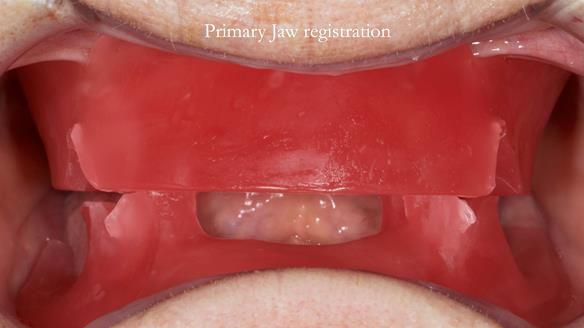
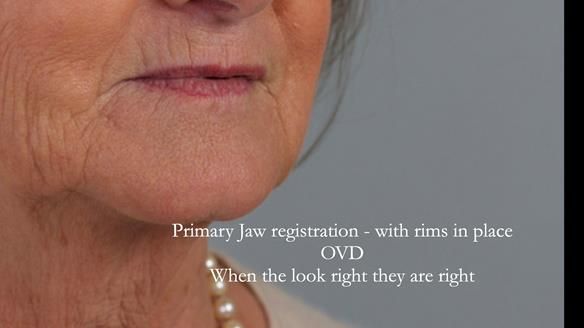
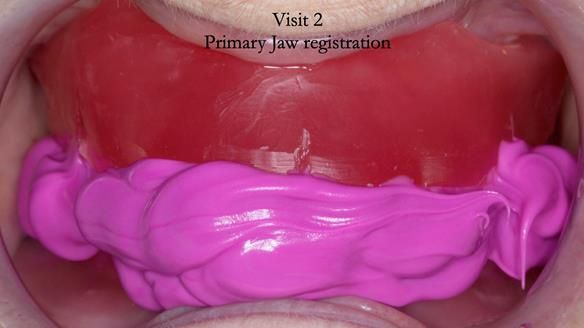
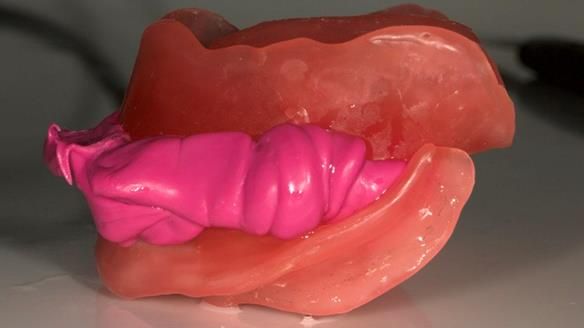
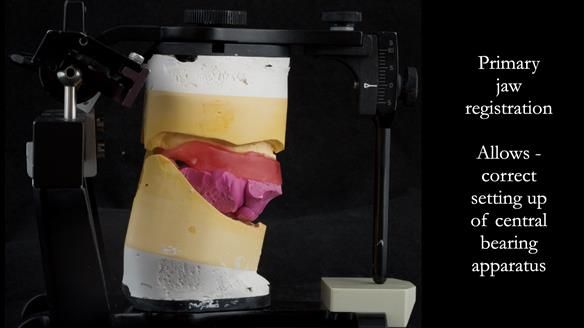
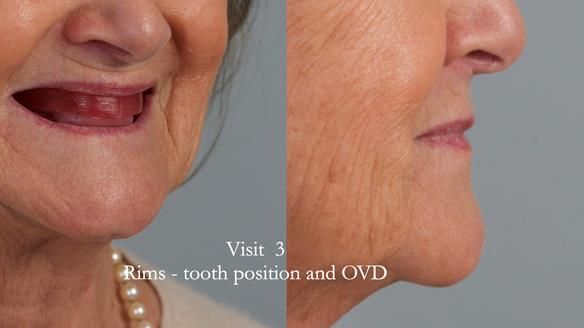
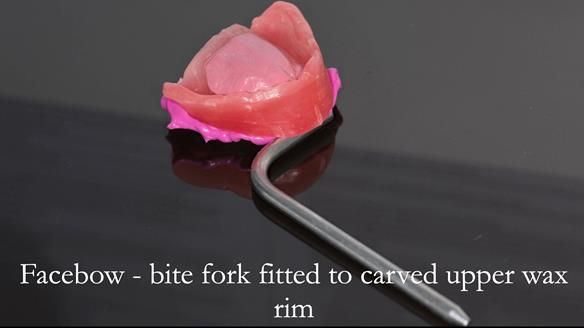
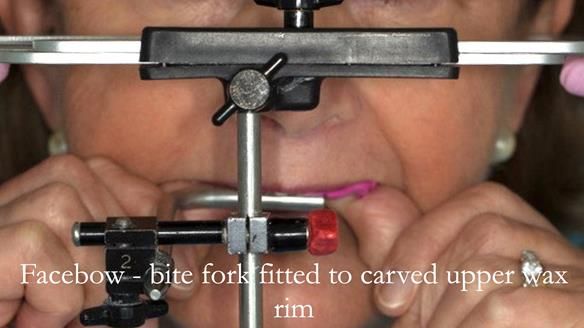
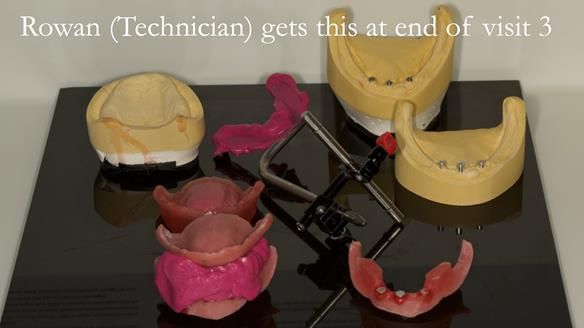
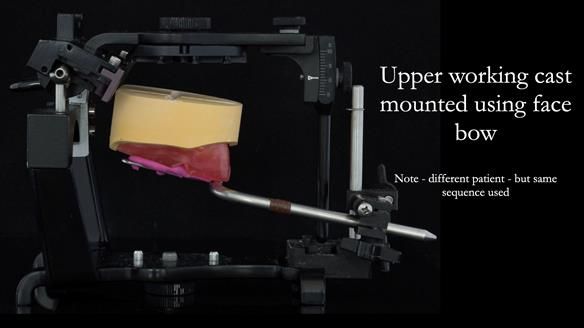
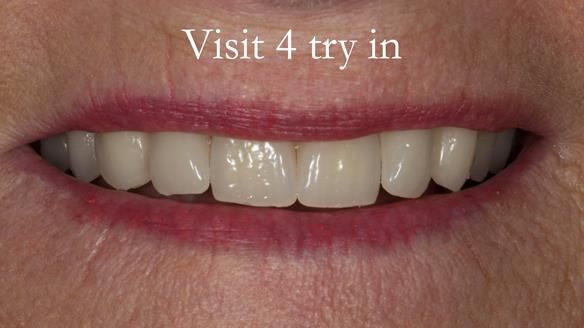
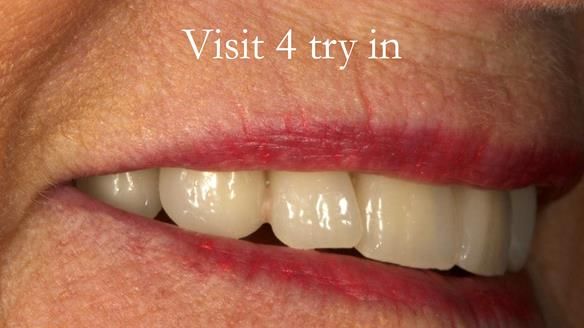
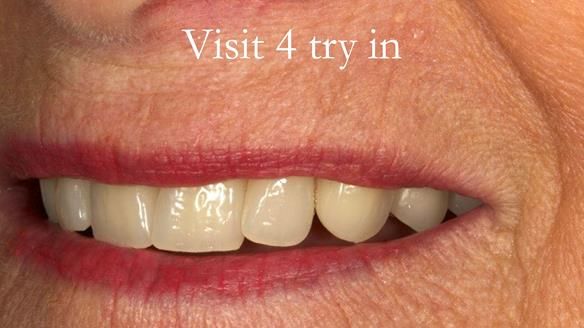
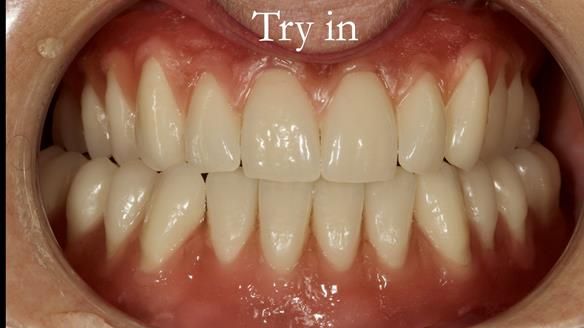
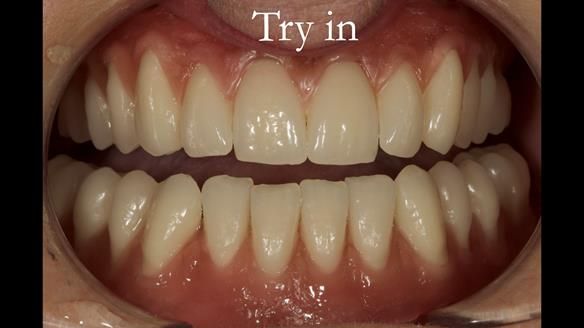
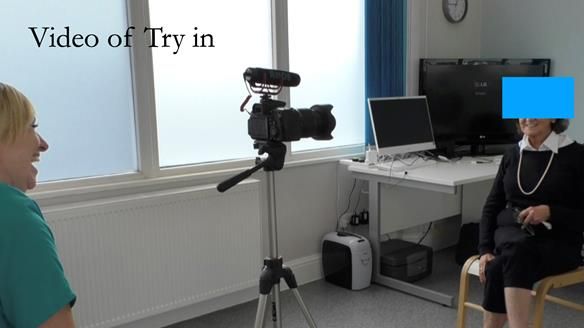
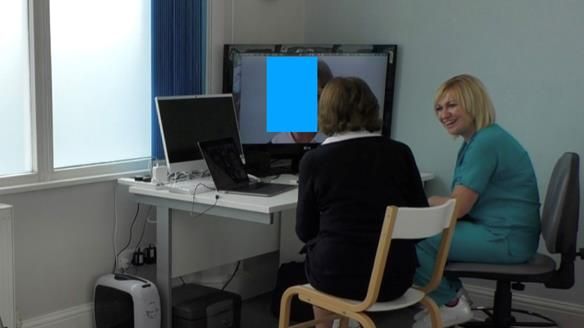
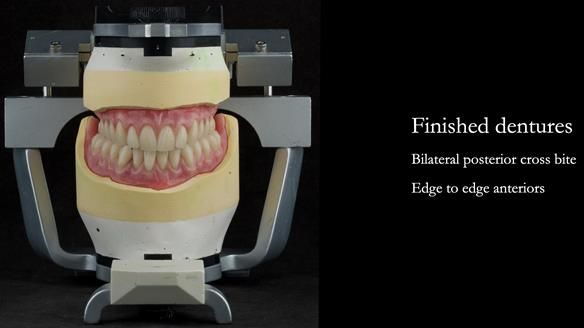
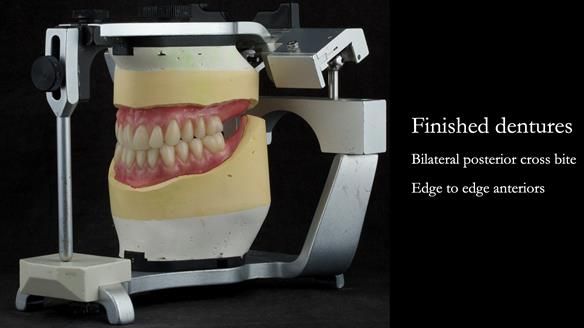
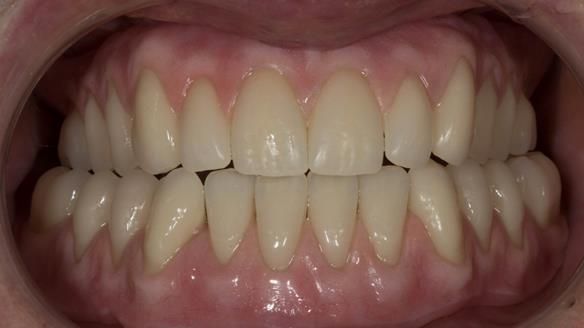
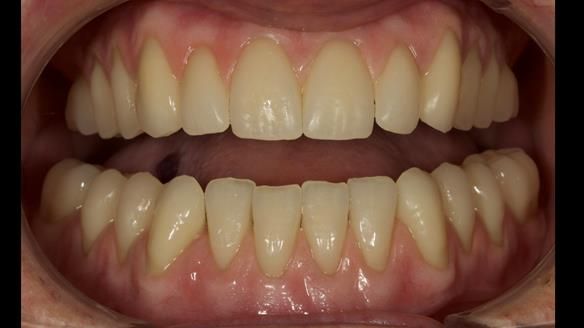
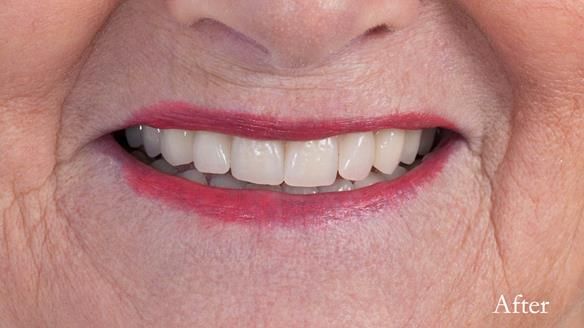
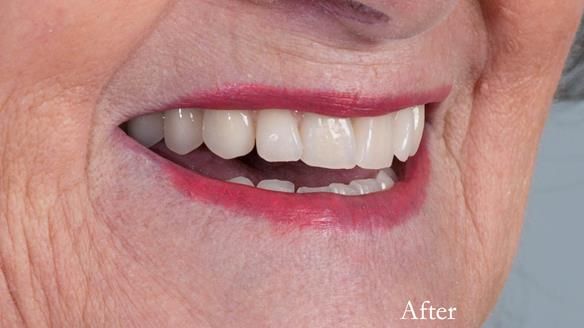
I provided new metal based complete dentures. The clinical situation and treatment process is shown in detail below with photographs. I provided the clinical work and Rowan Garstang provided the technical work. The dentures took 5 visits to make - with the patient travelling by plane from Ireland to Manchester. The patient had one review after the dentures were fitting.
If you enjoy my Newsletters and you have friends, colleagues, dental students, dental technicians, clinical dental technicians and postgraduate dentists that you think will appreciate them, please feel free to share them. In addition, if your colleagues would like to receive our Newsletters please email me and I will add them to my email list.


FACE TO FACE OPEN EVENING Thursday 4th November 2021
Clinical Updates – resin retained bridges, dentures, orthodontics, endodontics and periodontics
Dear Colleague
We would like to invite you and your team to our free verifiable CPD open evening on Thursday 4th November 2021 from 5.45pm at Garstang Country Hotel and Golf Club. Presentations from the team at Garstang Dental Referral Practice:
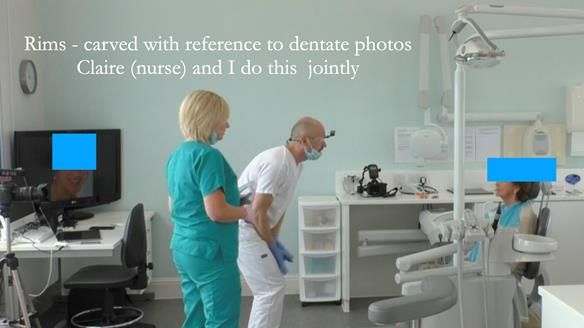
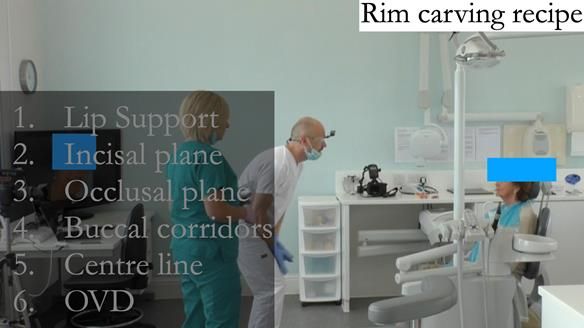
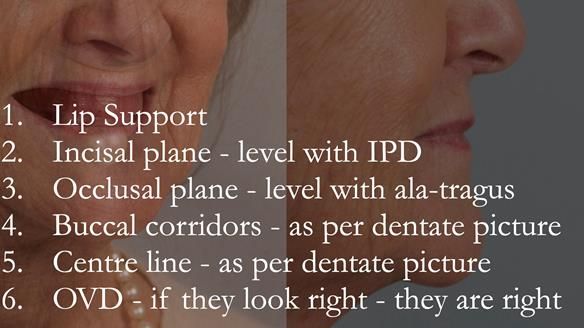
- Finlay Sutton, Specialist in Restorative Dentistry, Prosthodontics, Periodontics, Endodontics - Getting the teeth in the right place for complete dentures - 6 secrets to carving a wax rim.
- Zohaib Ali, Specialist in Prosthodontics - Resin retained bridges: Predictably successful
- Rachel Seed, Specialist in Orthodontics - Clinical case presentation
- Syed Abad Specialist in Periodontics - Surgical Periodontics - A step by step approach
- Rob Jacobs, Specialist in Endoodontics - Top tips for negotiating curved root canals
Aims and objectives of the presentations and open evening are to:
- Provide practical advice, hints and tips, which can be applied straight into clinical practice
- Highlight potential pitfalls and problems when treating patients within our disciplines
- Help identifying patients who will benefit from specialist referral and management
- Provide evidence that you can refer patients to us with confidence
- Meet the team and discuss clinical cases
We look forward to celebrating our 14th year anniversary with you at our open evening on Thursday 4th November 2021 from 5.45pm at Garstang Country Hotel and Golf Club. The hot buffet will be served from 5.45pm with the presentations starting at 6.30pm providing 2 hours of free verifiable CPD. Please pass this invitation onto your referring colleagues.
Ways to book
By email - office@garstangdrp.co.uk
By phone - 01995 606091
Booking form
Reference material
Full access PDF to my published scientific papers which explain my philosophy and clinical techniques. Please click on the link below and scoll down this page to find lots of useful clinical techniques, reference material and previous lectures:
https://www.finlaysutton.co.uk/resources
Previous Newletters:
https://www.finlaysutton.co.uk/case-studies